The Amazing Floating Concrete

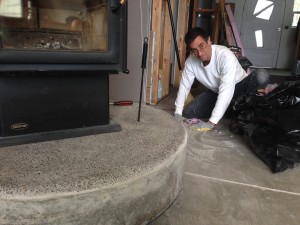
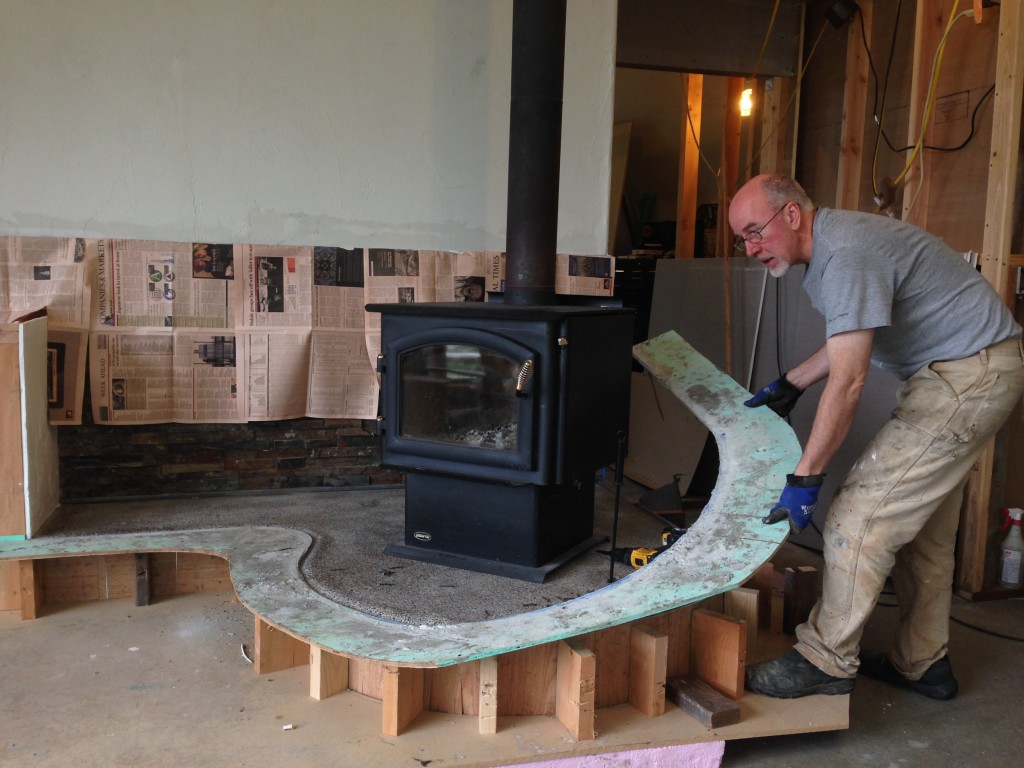
The moment we have all been waiting for….. Almost.  First there is a bit of work to do to remove the forms.Things are looking promising.
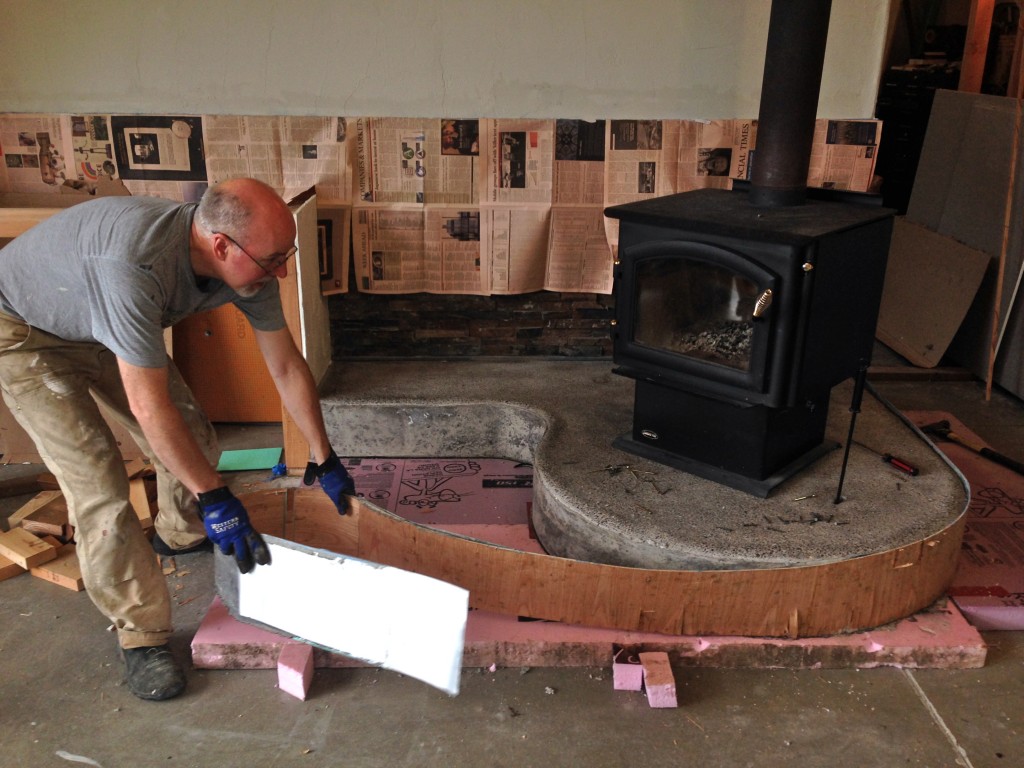
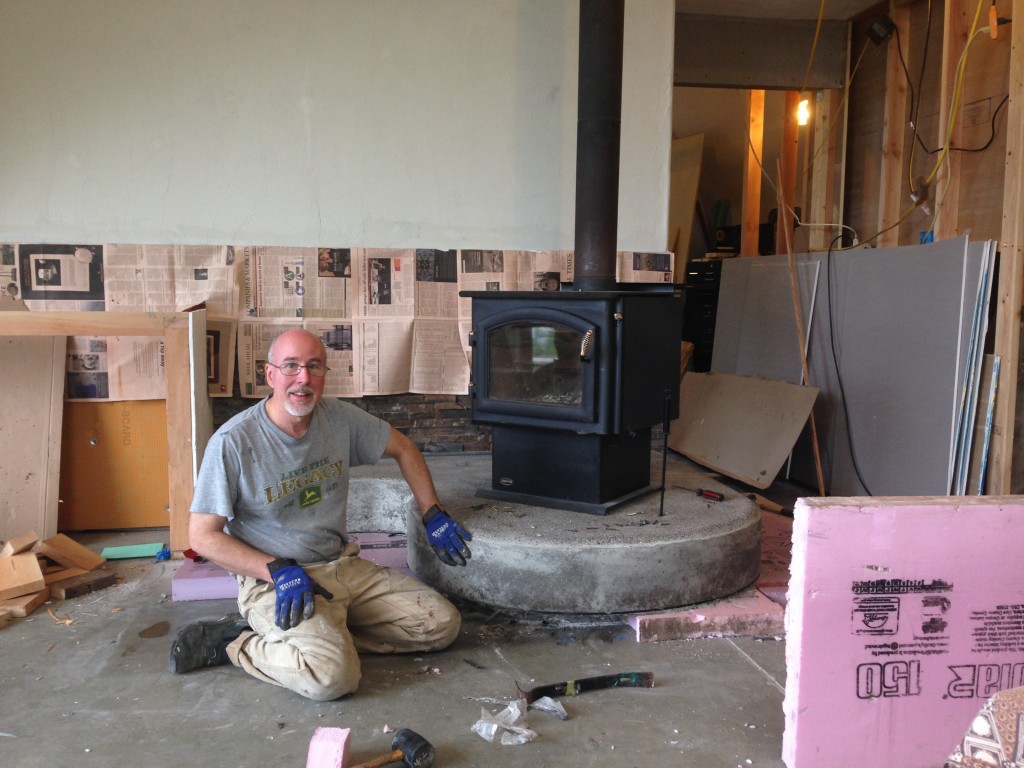
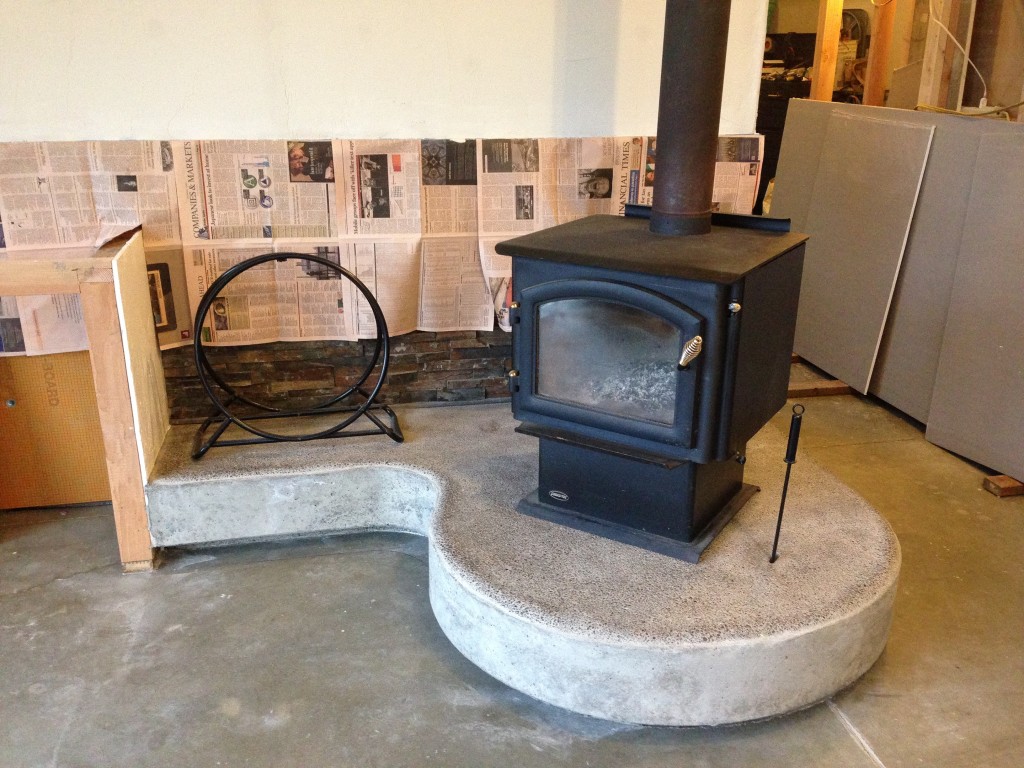
Two Happy Concrete Campers.  Even with a bit of a messy cleanup.  The end result is amazing.  The slight overhang of the hearth seems to “lighten” the massive form of nearly 3000 lbs of concrete.  We will paint the underside edge black and perhaps install LED lights to further enhance the illusion that the hearth is floating above the floor.
Plaster Prep

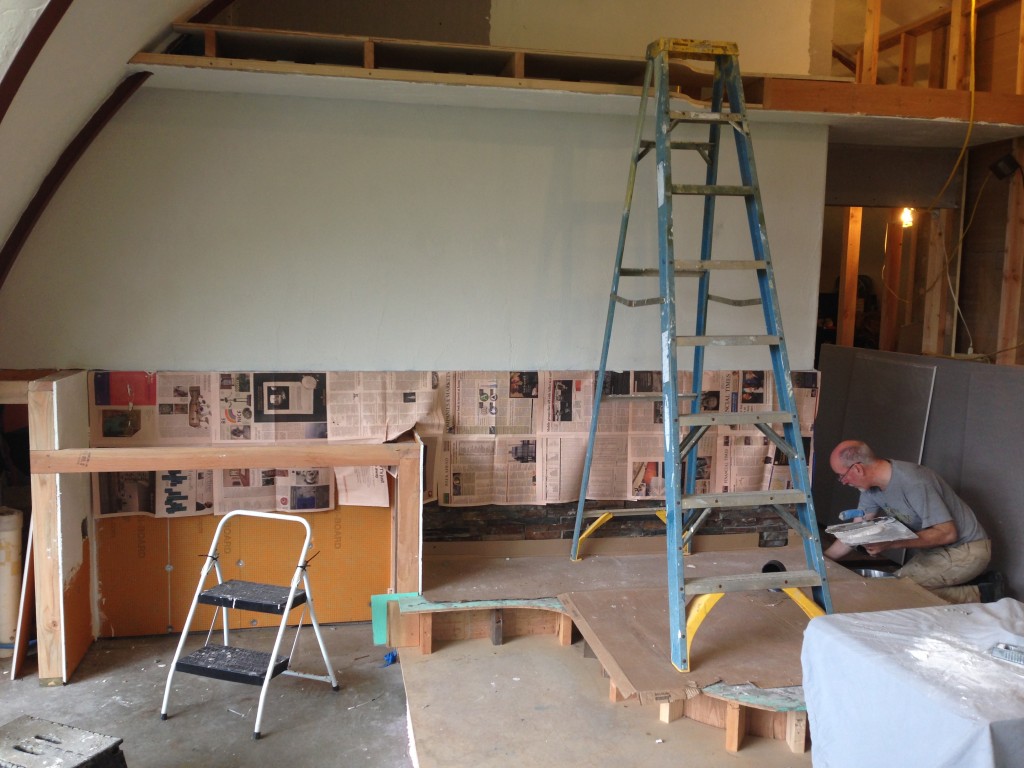
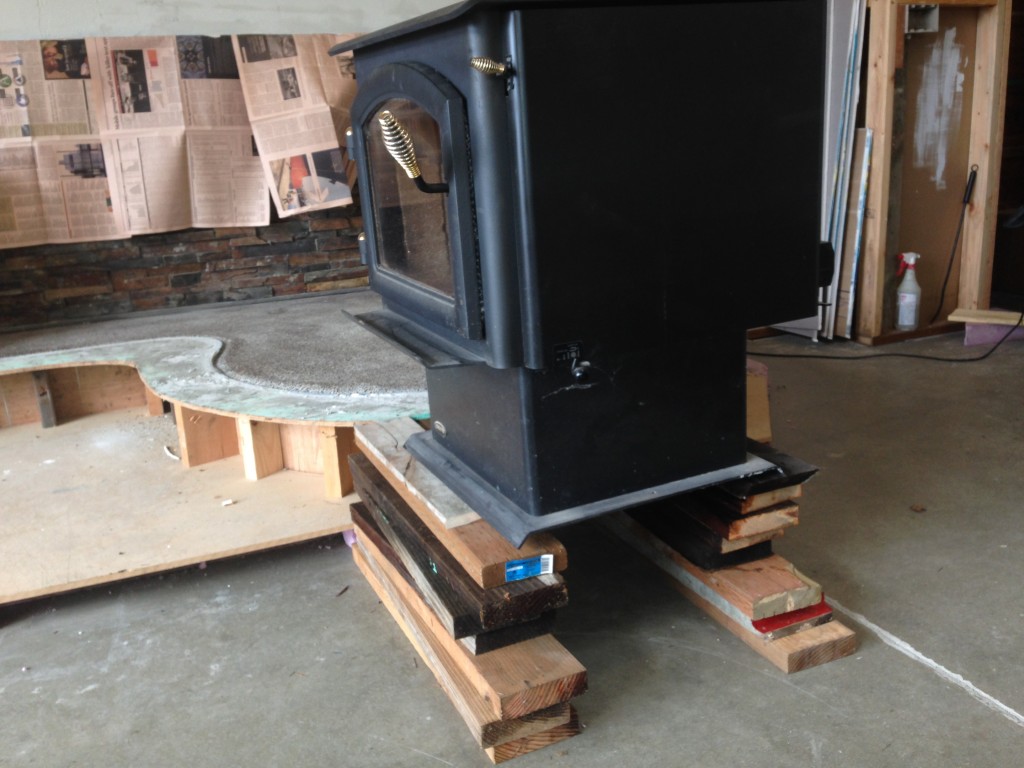
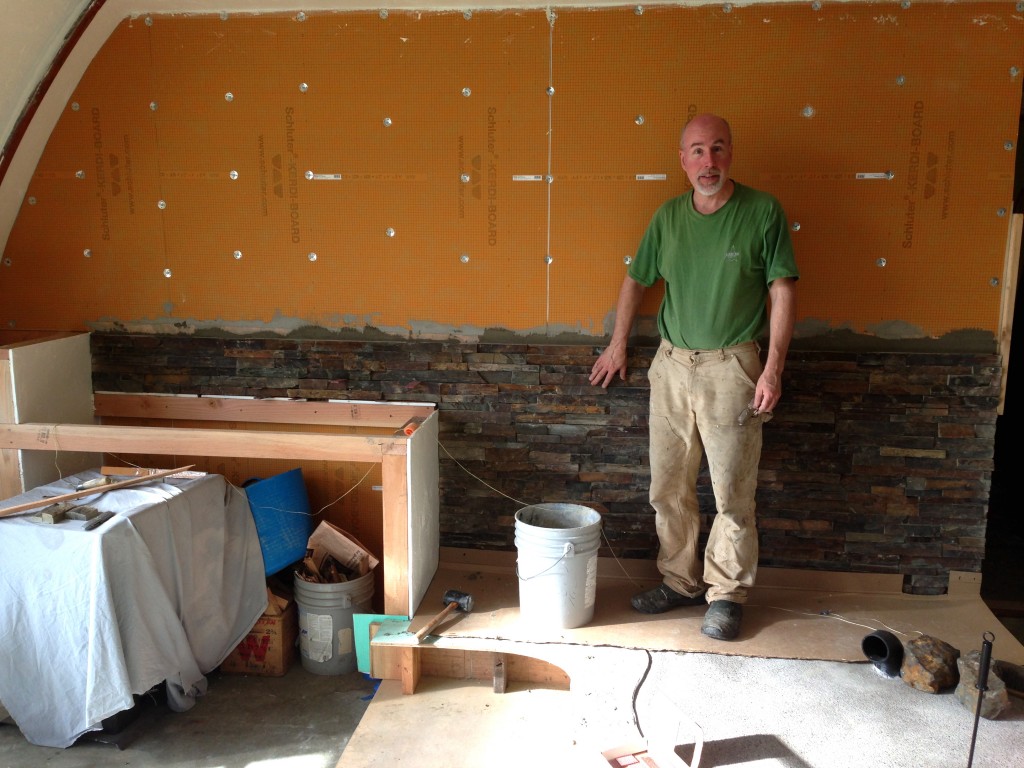
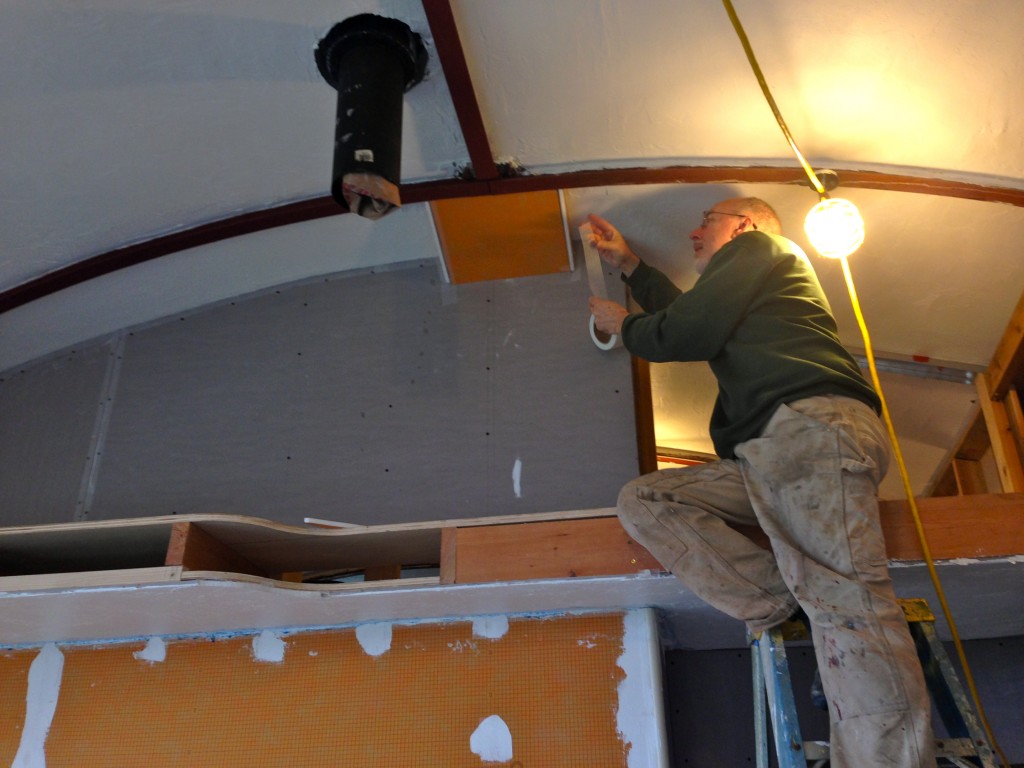
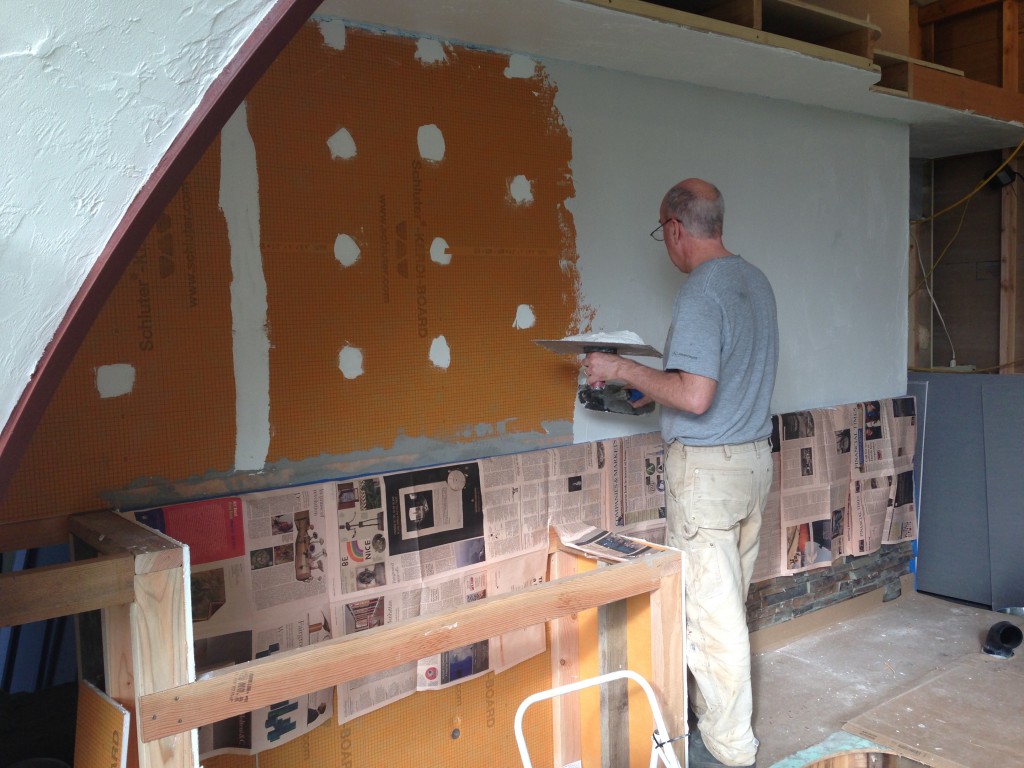
While the wood stove is out of the way, it was a good time to work on the wall behind it. Here I am boxing in some electrical conduit  that didn’t quite match up with where the wall ended up.  This will get plastered over and should pretty much disappear.Now to plaster the wall.  We were going to install the slate stone veneer all the way up to the soffit on this wall but we changed to having a partial stone wall.  Again, it was much easier to do this with the stove out of the way. With the plastering done, now it’s time to move the wood stove up onto the hearth.  How do two “Old Guys” lift a 500lb stove up 12″?……. Very carefully.It involved tilting it back and forth onto and ever increasing stack of 2X6’s

Next up, the big “reveal”

Not just another stone wall


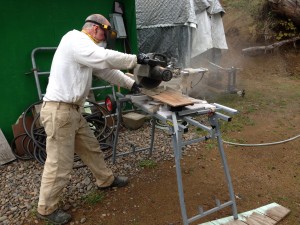
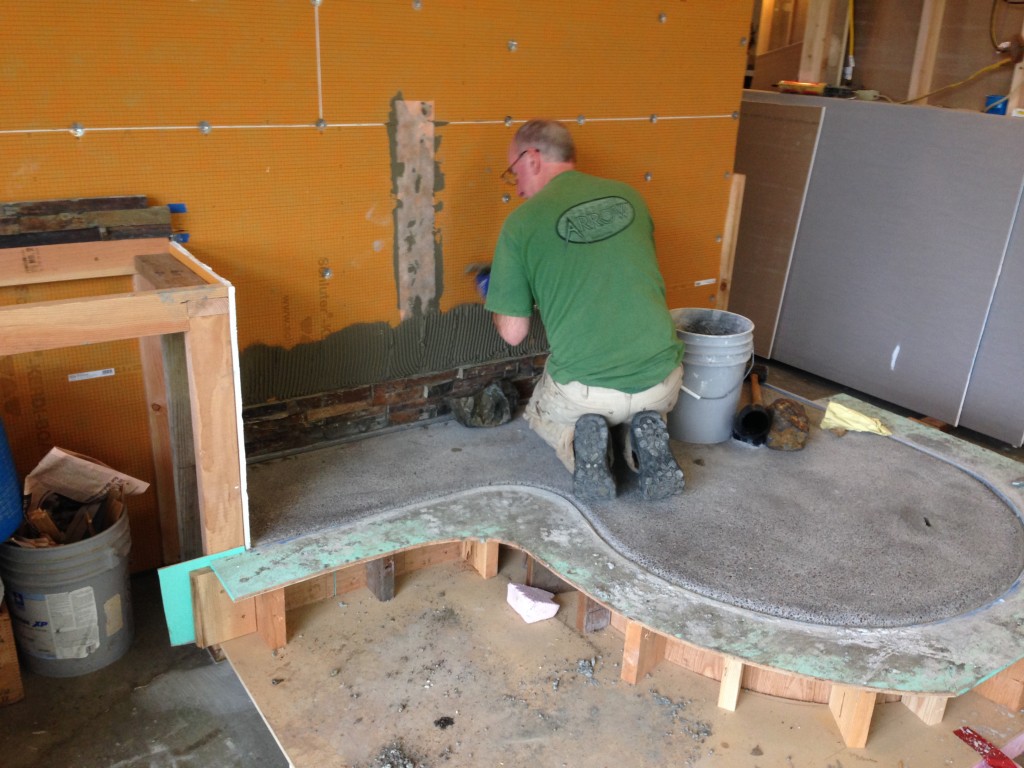
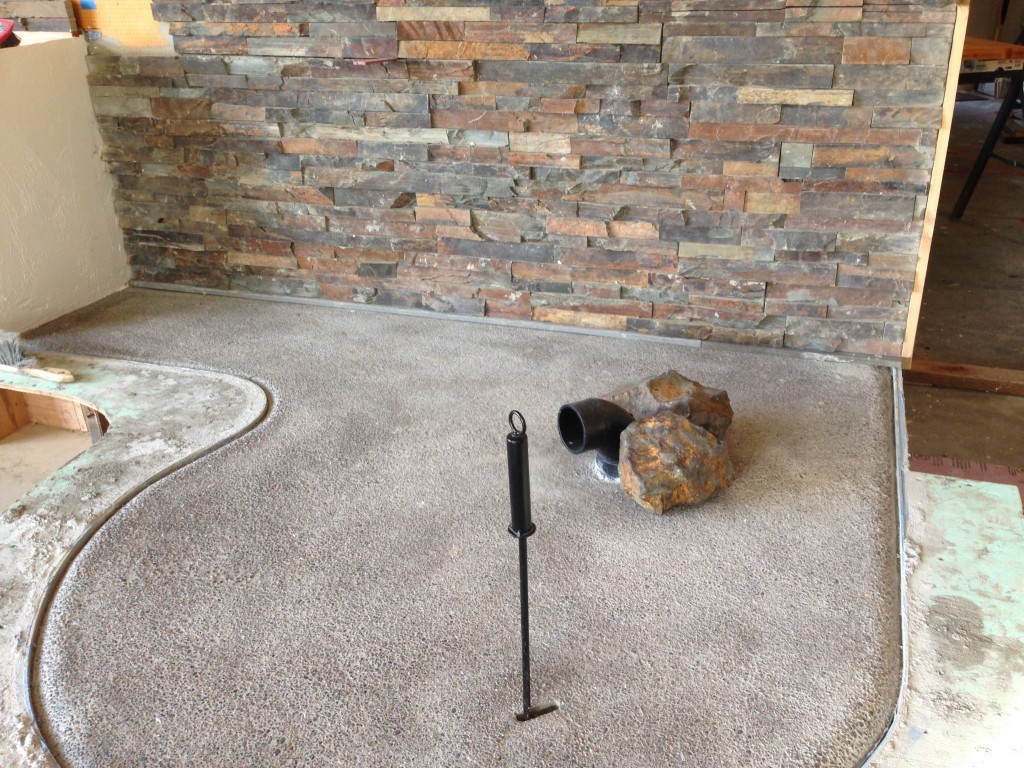
A little Planning,                                                          a little Cutting   ……  A little Mud…                           And Viola! Note the clever built-in slot to hold the fire Poker.Originally we were going to have the stone go all the way up to the soffit but now we are going to add a trim board (mantle) at this level and plaster the rest of the wall.  We will use the left over stone on the back of the bar counter.

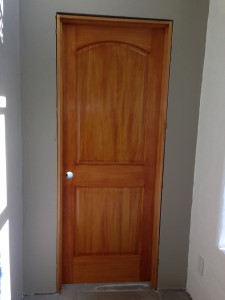
We accomplished a lot this weekend including installing the guest bedroom door and painting some of the exposed steel.

A Tale of 2 EriK/Cs

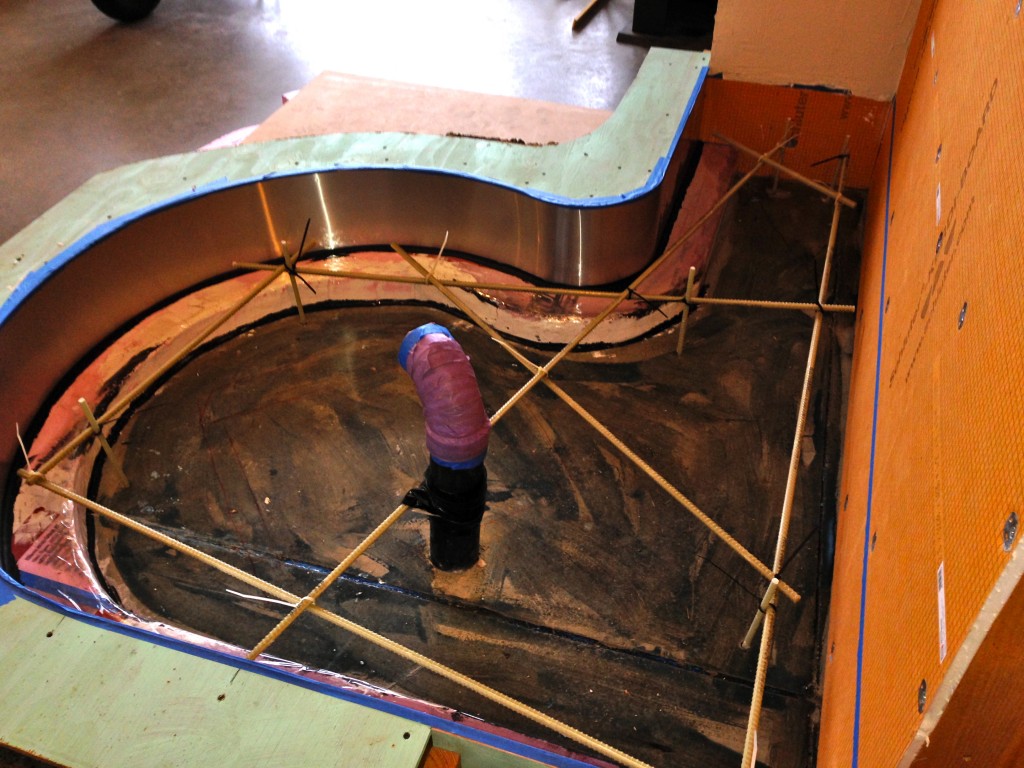
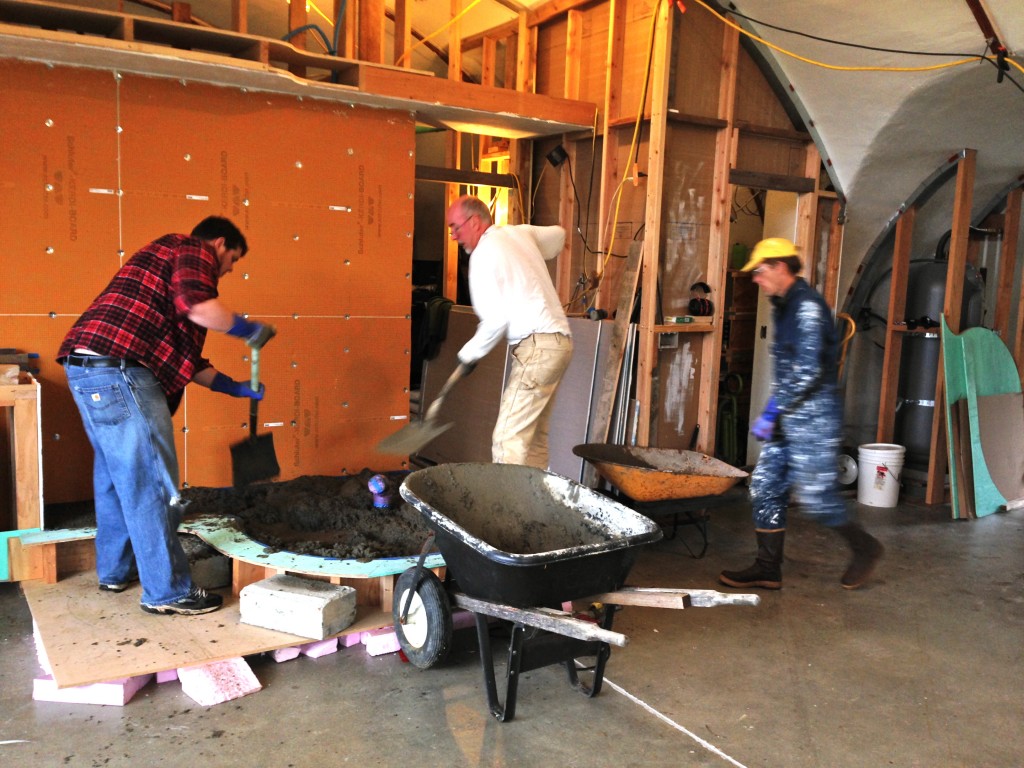
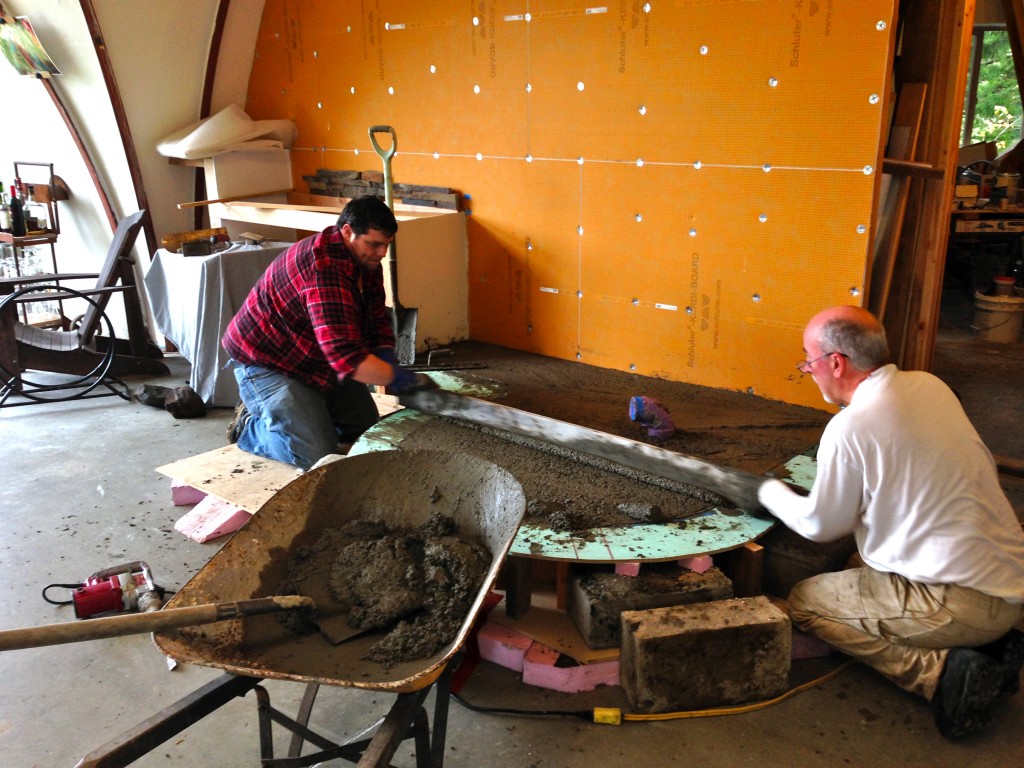
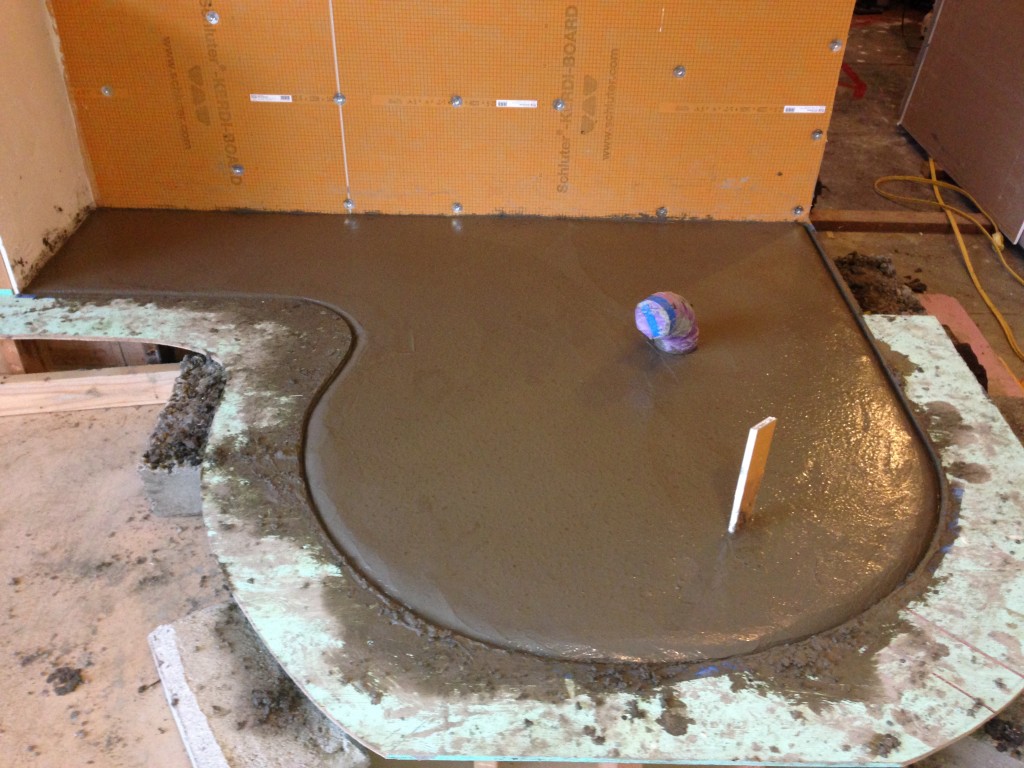
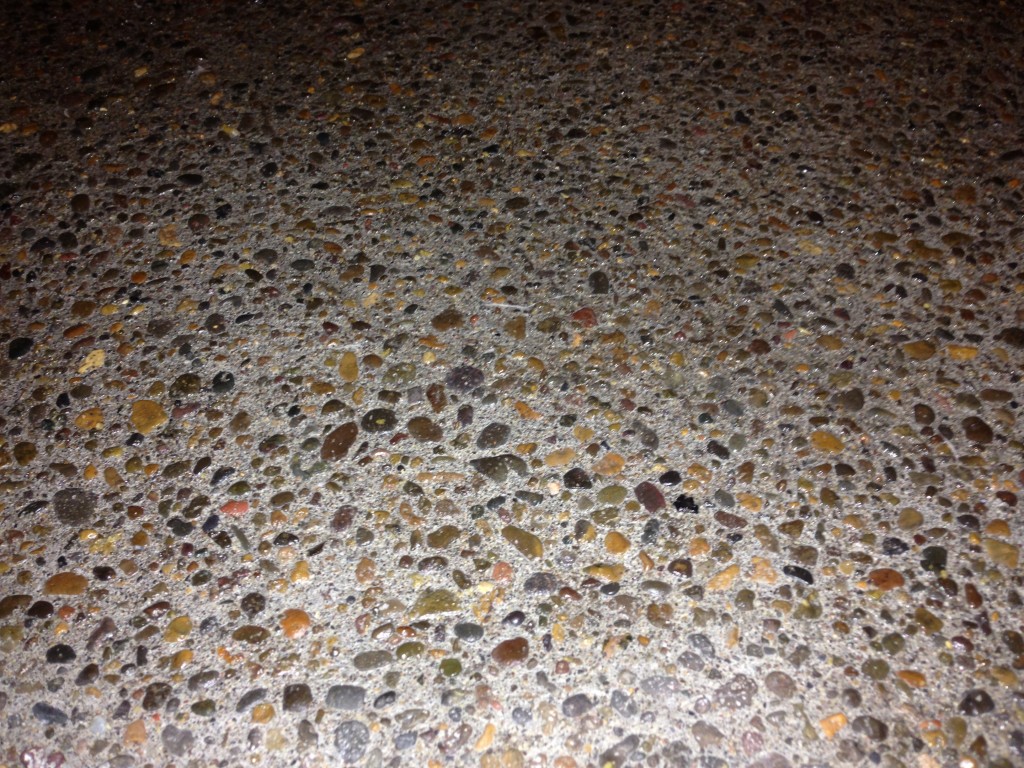
The form  and reinforcing for our hearth is all ready for concrete.  The metal flashing for the front edge should create a smooth surface. The inset at the bottom of the form is in place.  This “negative space” will create the illusion that the hearth is floating above the floor. Tim from Newport  Readymix showed up with a yard of concrete. (He backed up the entire length of our driveway).   It was sure nice not having to mix it ourselves.This is where Erik & Eric came in.  They shuttled the concrete into the house via wheelbarrows.  And we proceeded to fill up the form.  Thanks guys, we couldn’t have done it without your help.Some screeding and troweling and………….Voila!…..The pipe sticking out is to provide combustion air from the outside for the wood stove. The orange think sticking out of the concrete will leave a slot for Jeff’s fire poker.  After about seven hours of setting, we scrubbed off the top surface to create an exposed aggregate look,  and this is the result………
I can’t wait to remove the forms to see how the rest of the hearth looks.  But that will be some time yet.

Like A Hot Knife Through Butter…. Foam

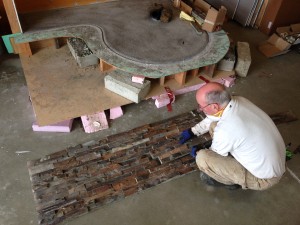
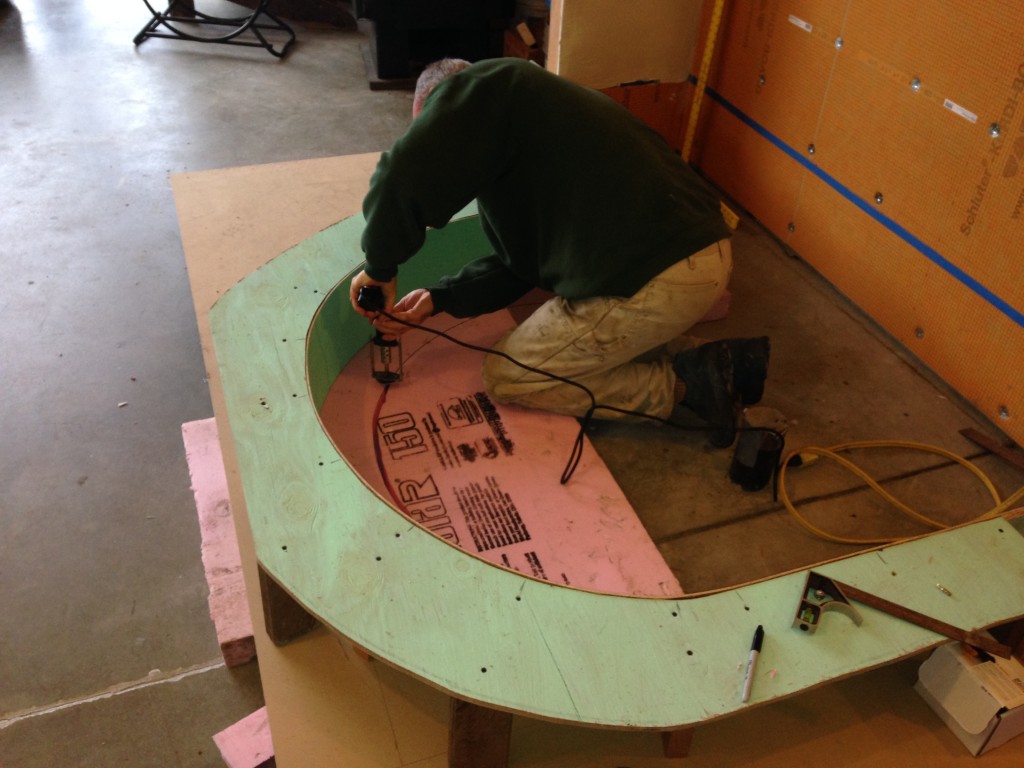
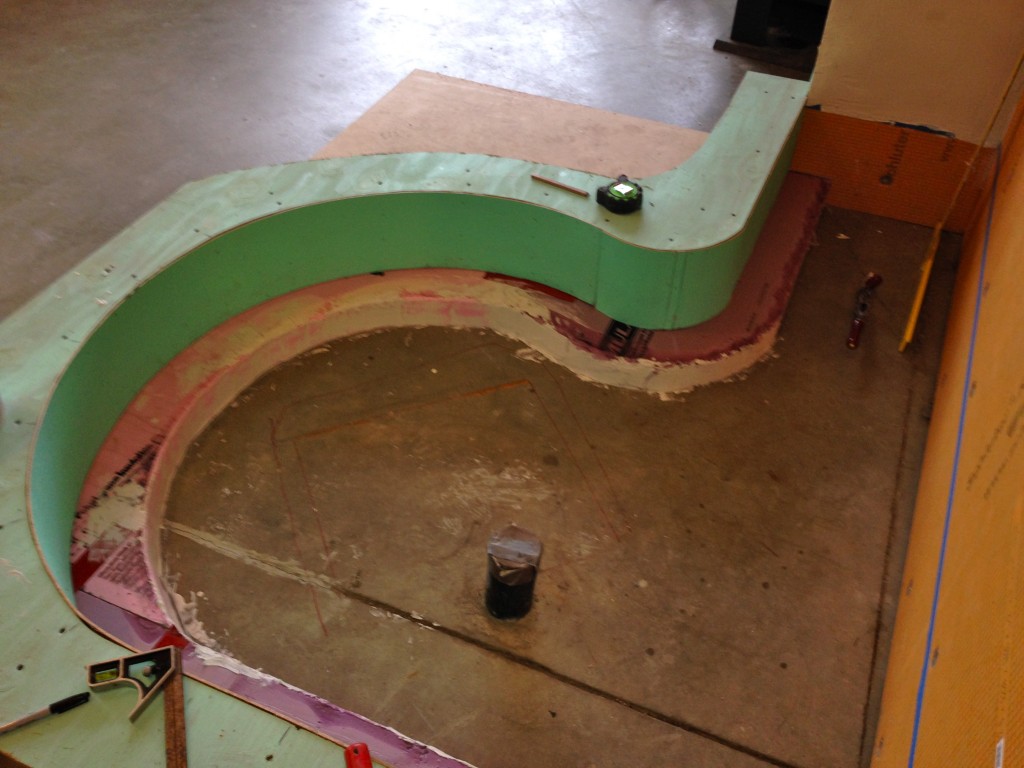
Although our concrete hearth will be about a foot thick, it will appear to “float” above the floor.This bit of optical trickery will be achieved by a 5 inch indentation at the bottom of the form  created using ridged foam.  After the concrete has set, we will remove the foam.  We will also be lining the upper inside edge of the form with a continuous band of metal flashing.  This should give us a perfectly smooth “face” on the hearth which will be a nice contrast with the exposed aggregate top surface.   Thanks to Jeff for the inspiration to create the floating concrete effect.
The black pipe sticking out of the floor is for bringing in combustion air for the wood stove from the outside . (rather than creating a draft through doors and windows)